The wife, donned in pearls and a lovely ruffled apron, brings the turkey to the table; her beloved and loving family applauds and Husband looks on proudly.Wife sets the glorious bird in front of Husband, who tucks his tie into his shirt and proceeds to carve the bird with great finesse. Whatever.
If you have any trepidation at all, do like Wife and bring the big ole bird to the table on your best silver tray. Then whisk it back into the kitchen and carve it at your own pace with no onlookers to offer unwanted suggestions.
How to Carve the Turkey
STEP # 1: REMOVE THE LEG
Cut the skin that attaches the thigh to the bird, thereby removing the drumstick.
As you look down on the turkey, you will see very clearly that the meat just under the drumstick you removed is a separate piece from the breast. Follow the contours of the meat with your knife– it will nearly have an outline that shows you where to cut. Remove the thigh in one piece. Once you take it off the bird, you can cut it in two pieces (one will have the bone and one will not) or you can slice that dark meat. Decide that after you have removed the wing and the breast: just set it aside for now.
STEP #2 REMOVE THE WING
This may be the trickiest part: finding the end of the wing bone where your knife can easily slip into the joint. But if you make a mess of it, chances are no one will even notice. Besides, you have a second try, and that can be the wing you put out on the platter. (It is unlikely more than one person will want a wing anyway). After you remove the breast from that first side, you can more easily neaten up any missteps you may have taken with the wing.
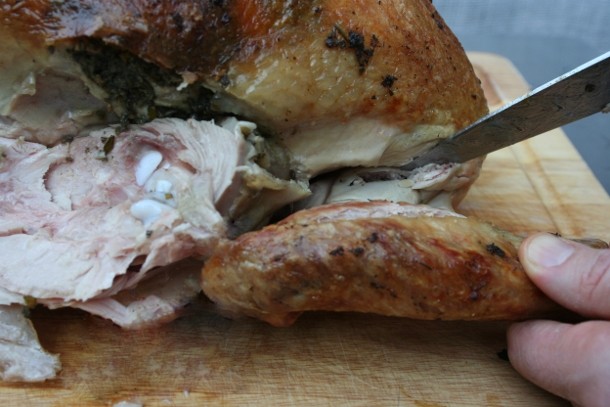
Find the tip of the wing bone with your knife, position your blade in the joint where the two bones meet (you may have to wiggle your knife around a little bit to find the position), and cut through. Make a couple of nice clean cuts through the meat and skin to finish detaching the wing.
STEP #3: REMOVE THE BREAST
Perhaps we have that Norman Rockwell picture to blame for the idea that the breast should be carved while still on the bone. Don’t do it! It is so much more difficult to get nice thin, even slices when you are cutting it on the bone. Also, carve on the carcass and one lucky dawg at the table gets a slice with a yarmulke-like cap of crisp skin, and everyone else is served barren breast. (Talk about the one percent!) Every breast-eater deserves his or her share of skin.
Next, you need to cut underneath the breast to remove it from the carcass. You want to get as close to the bones under the breast as you can: those bones are a guide for where to place your knife. They might be at a 130° angle from the breast bone.
Time to slice the breast. It’s much easier now that you can lie it flat on your work surface.
I don’t recommend carving the entire bird right away. Remove both legs and wings, but to keep the breast meat as moist as possible, leave it on the carcass until you are ready to serve it. It will take you only moments to take the second breast half off and slice it.
And now, a little link love. Here are all the recipes I gave you in preparation for Thanksgiving.
Butternut Soup with Pesto Dollop
Fennel, Sausage and Caramelized Onion Stuffing
Corn Bread, Dried Cherry and Bacon Stuffing
Parsnip Puree with Caramelized Onion and Fried Sage Leaves
Streuseled Sweet Potato Casserole
Green Beans and Balsamic Glazed Onions
Pumpkin Pie with Pecan Streusel Topping
(Out of this World) Pumpkin Cheesecake
Vanilla Cheesecake with Cherry Topping
I have much to be thankful for this Thanksgiving. Among them is you, my supportive readers: by the very act of reading this blog and through your comments and contributions, you have allowed me an outlet for telling tales in words, recipes and pictures about this sweet and savory life. Thank you for listening.
Have a very Happy Thanksgiving: may your feast be filled with tasty vittles, laughter and the warm comfort of family and friends.
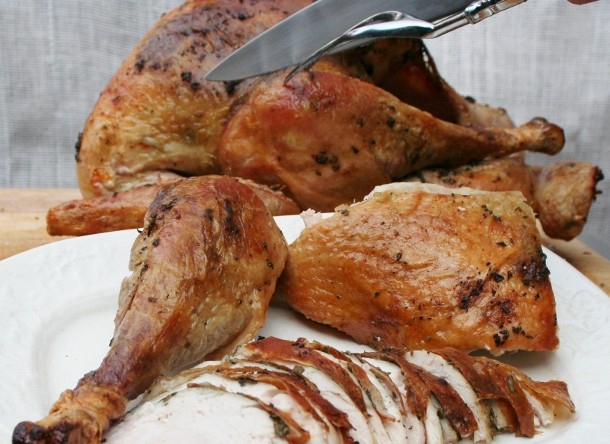
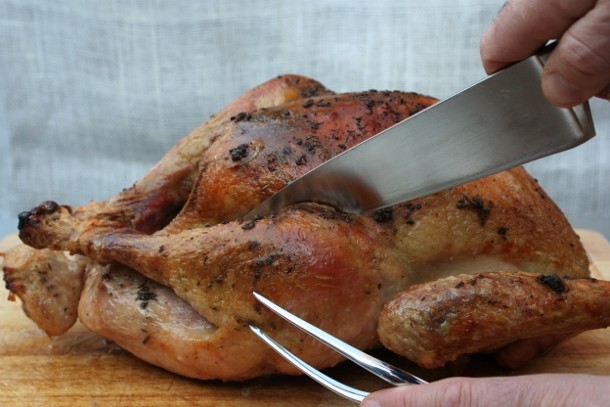

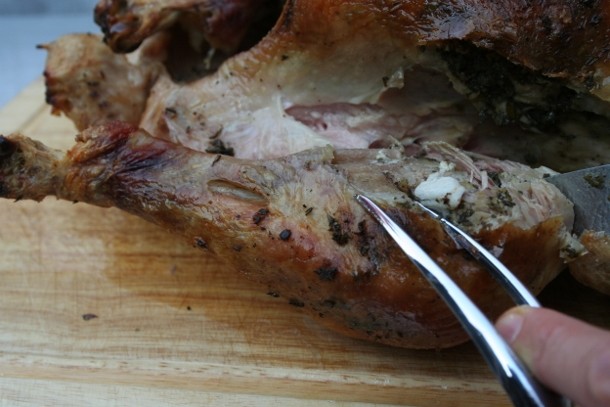

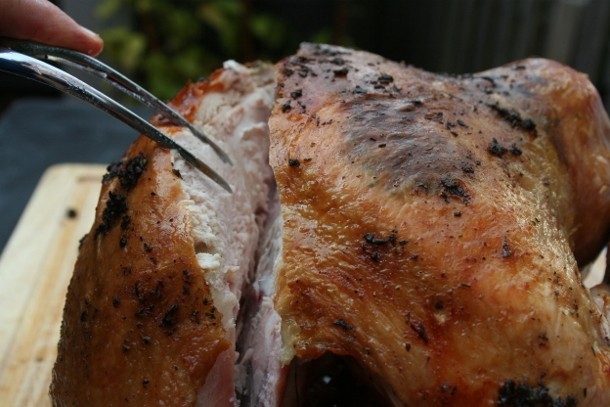
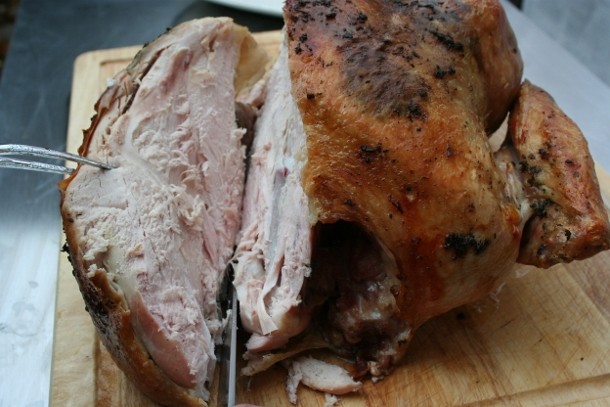

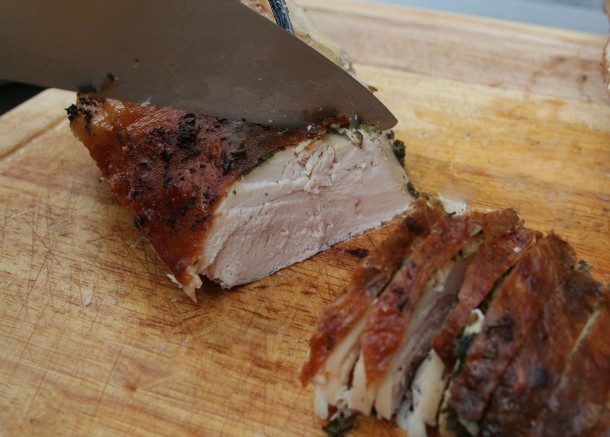
I love thin carved turkey. BTW…these do not look like “wife” hands.
Ah, you observant critter! Yes indeedy: I was the one behind the camera while Ebo (a master carver) “modeled”.