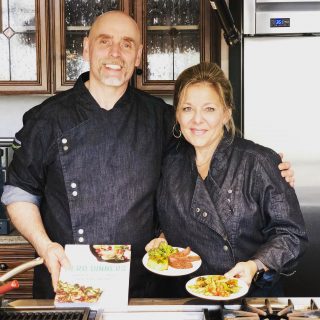
Why is this Passover different from all other passovers?
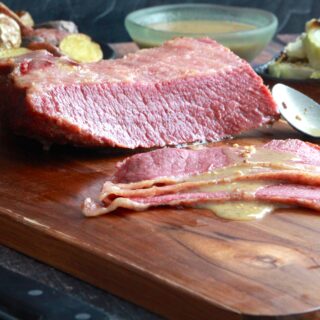
Like so many of us, my Seder will have far fewer people. My father and children will not be with us: they will be sheltering in place, keeping safe and healthy. We will use technology to share at least part of the Seder; I will eat an extra slice of brisket in my son’s honor and may have an extra glass of wine just because.
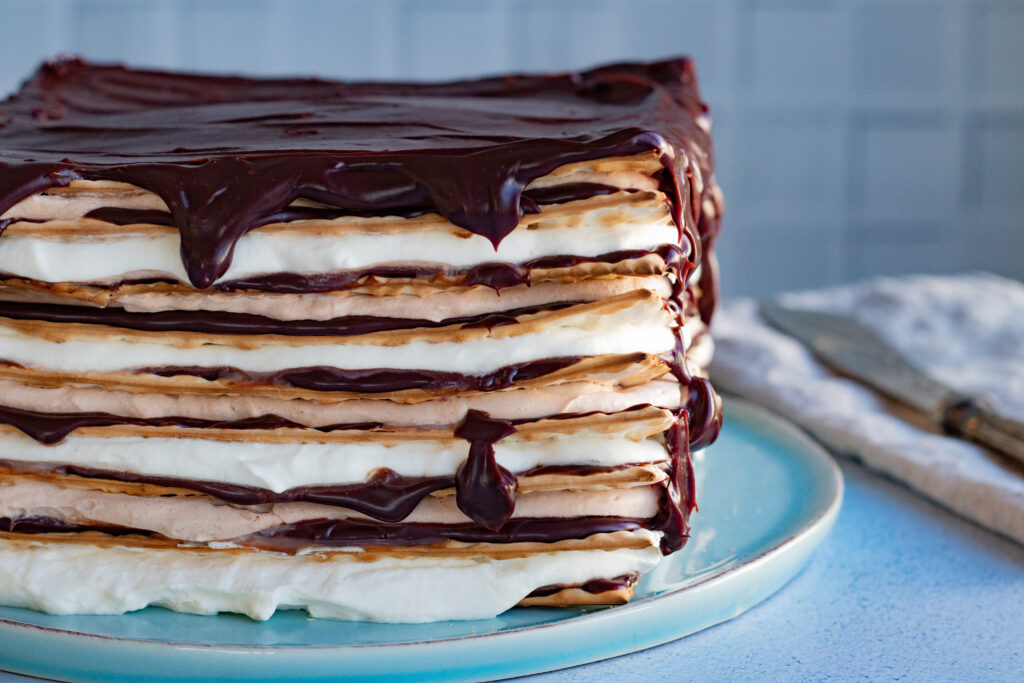
On the second day, we will all set up iPads in our kitchens, and (maybe while still in our pajamas) make this dessert together. It is a recipe for cooks and non-cooks alike: a building project for some and a quasi-baking one (though no oven required) for others. If you are lucky enough to have young children at home, be sure to let them help. It is ideally suited as a group activity—as fun to make as it is to eat.